


Before installing a strut tower brace, secure your vehicle with jack stands and gather tools. Clear the engine bay, check connections, and consider air or exhaust upgrades. Unpack and inspect the brace for damage, ensuring proper alignment. Mount and adjust the brace securely using provided bolts or clamps for optimal stability and handling.
“Upgrading your vehicle’s handling and stability? Learn how to install a strut tower brace, a powerful modification for enhancing cornering precision. This step-by-step guide walks you through the process from preparation to final adjustment. First, ensure your vehicle is ready with all necessary tools and safety gear. Then, unpack and inspect the strut tower brace, checking for any defects before installation. Proceed to mount and secure it firmly in place, following manufacturer instructions precisely.”
- Prepare Your Vehicle for Installation
- Unpack and Inspect the Strut Tower Brace
- Securely Mount and Adjust the Brace in Place
Prepare Your Vehicle for Installation

Before you begin installing your strut tower brace, ensure your vehicle is safely secured and all necessary tools are at hand. This includes jack stands, a floor jack, socket sets, ratchets, wrenches, and any other tools specific to your vehicle’s make and model. Remove any obstructions from the area where you’ll be working, such as loose items or mats, to ensure clear access and easy maneuverability.
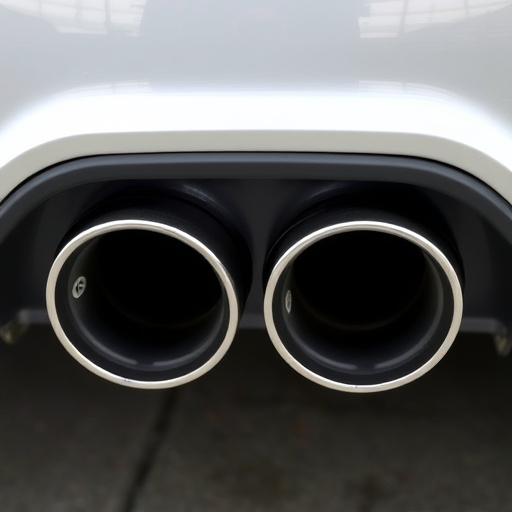
Additionally, it’s crucial to prepare your engine bay by clearing debris and checking for any loose connections, especially around the suspension and exhaust system. You might want to consider upgrading other components like air filter kits or even a performance exhaust with exhaust tips for optimal performance after installing the strut tower brace. This ensures a clean workspace and allows you to identify potential issues before they affect the installation process.
Unpack and Inspect the Strut Tower Brace

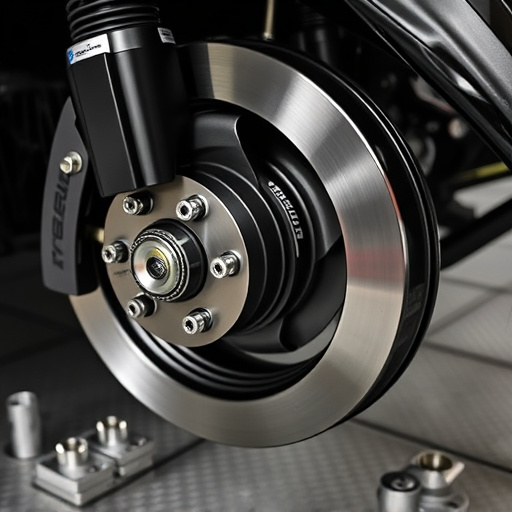
Once you’ve acquired your new strut tower brace, the first step is to carefully unpack it. Start by removing all packaging materials and take a moment to visually inspect the brace for any signs of damage or defects. Ensure that all components are present and in good condition before proceeding.
When inspecting, pay close attention to the brace’s construction, looking for any structural weaknesses or issues with the mounting hardware. High-performance parts like strut tower braces often require proper alignment and precise installation, so taking a thorough look now can save you time and headaches later. Remember, proper suspension components are crucial for vehicle stability and handling, and a well-installed strut tower brace is a key element in this system.
Securely Mount and Adjust the Brace in Place
Once the strut tower brace is properly positioned, it’s time to securely mount and adjust it in place. Most strut tower braces come with adjustable bolts or clamps that allow for precise alignment and tightening. Ensure these components are tightly secured according to the manufacturer’s instructions. This step is crucial as a firm attachment guarantees optimal performance of your strut tower brace.
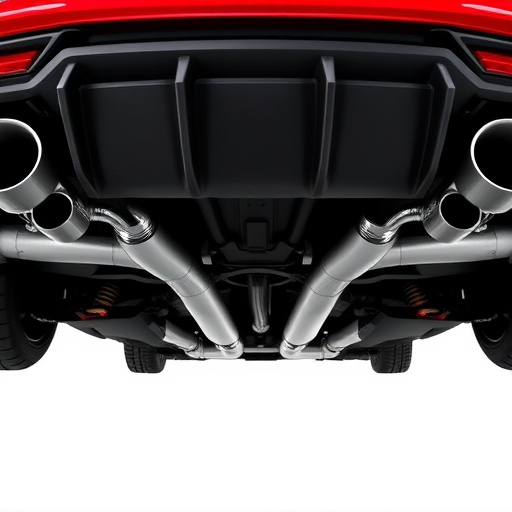
Proper installation enhances vehicle stability, reduces body roll during cornering, and can even improve handling when combined with high-performance parts like cold air intakes or cat back exhaust systems. By securing the strut tower brace correctly, you’re not only enhancing structural integrity but also unlocking the full potential of your vehicle’s performance capabilities.
Installing a strut tower brace is a relatively straightforward process that can significantly enhance your vehicle’s stability and handling. By following these steps—preparing your vehicle, unpacking and inspecting the strut tower brace, and securely mounting and adjusting it in place—you’ll not only improve your car’s performance but also ensure a safer driving experience. Remember to always prioritize safety when working on your vehicle, and consider this addition as a valuable investment for any driver seeking optimal control and ride quality.